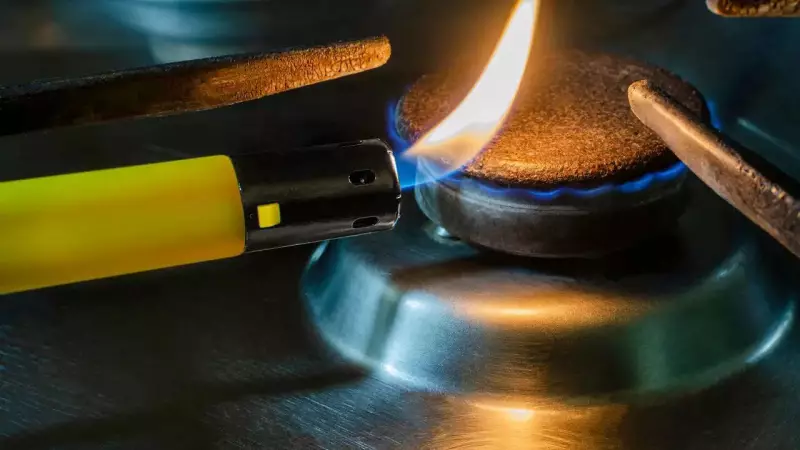
That satisfying click when your kitchen gas lighter sparks to life is something every Indian home cook recognizes. Yet the moment it stops working, most people immediately discard it and head to the store for a replacement. What if we told you that most broken lighters can be repaired at home in just minutes with simple household items?
Common Gas Lighter Problems and Simple Solutions
Before you spend your hard-earned money on a new lighter, understanding what typically goes wrong can save you both time and resources. Most issues stem from simple problems that require no technical expertise or special tools to fix.
Clean the Spark Plug for Instant Results
Carbon buildup on the spark pin ranks as the most common reason lighters stop working. Over time, black residue coats the tip, preventing the spark from forming. Simply open the lighter casing and gently scrape the surface using a safety pin or toothpick. This quick cleaning often instantly revives your lighter and restores that familiar clicking sound.

Restore Button Movement Easily
If your lighter's button feels stiff or doesn't press down smoothly, the internal spring might be stuck. Kitchen environments often cause this when oil, steam, or food particles settle around the mechanism. Clean the area with an old toothbrush and a drop of coconut oil, then press the button several times to ensure smooth movement.
Check for Loose Components
After repeated drops or rough handling, internal components can shift out of place. Open the casing and inspect whether metal contact points or wires have loosened. Carefully tighten them with your fingers or gently adjust their position so they touch the correct points inside. Often, this small adjustment is enough to restore the spark.
Advanced But Simple Repair Techniques
Fix Weak Electrical Contact with Aluminum Foil
When the spark appears weak or inconsistent, the internal circuit might not be completing properly. Place a tiny piece of aluminum foil between the contact points as a temporary connector. This simple hack helps restore proper conductivity and often makes the lighter work again. Ensure the foil doesn't touch areas it shouldn't.
Remove Moisture Effectively
If your lighter has been kept near the sink or exposed to cooking steam, moisture may have entered the internal chamber. This moisture prevents the spark mechanism from functioning. Leave the lighter in a dry place for several hours or place it in a small bowl of uncooked rice to absorb moisture. Complete drying often solves the issue without any dismantling required.
Replace Worn-Out Flint
Some lighters use flint instead of a spark-trigger system. If you notice the wheel turning but no spark forming, the flint may have worn down. Replacement is simple and inexpensive—most hardware shops sell small flint refills that can be inserted into the lighter within seconds.
Inspect and Remove Corrosion
Older lighters may develop rust or corrosion around metal components, stopping the electrical flow required to produce a spark. Lightly sand the rusted areas with fine sandpaper or a nail buffer to restore the metal surface. However, if corrosion appears too severe, the lighter might not be worth saving.
When to Consider Replacement Over Repair
While most basic issues can be fixed at home, some problems indicate that the lighter is no longer safe to use. These include a damaged gas release valve, a broken trigger rod, or a cracked fuel chamber. If you smell gas, notice leaking, or see structural damage, it's safer to dispose of the lighter properly and invest in a new one.
Before spending on a new lighter, check whether your old one simply needs quick cleaning or minor adjustment. These small fixes not only restore function but also make you more aware of how your everyday tools work. With minimal attention, your old gas lighter can keep sparking reliably for months or even years to come.