We all clean our toilet bowls regularly. It's a normal part of our weekly chores. But what about the toilet tank? That hidden compartment behind the commode often gets completely ignored. This neglect can lead to serious problems over time.
Why You Must Clean the Toilet Tank
People typically focus on visible areas like the bowl and seat. They scrub those surfaces until they shine. However, the tank plays a crucial role in your toilet's overall performance. Ignoring it can cause multiple issues.
Hard water leaves mineral deposits inside the tank. These deposits accumulate slowly. They can damage internal components and reduce flushing efficiency. Mold and bacteria also love dark, damp spaces. A neglected tank provides the perfect breeding ground for them.

When you flush, contaminated water from the tank enters the bowl. This can spread germs and create unpleasant odors. Regular cleaning prevents these problems. It removes mineral buildup, improves water flow, and keeps your bathroom smelling fresh.
Gather Your Supplies First
You don't need fancy chemicals for this job. Simple household items work perfectly. Collect these things before you start:
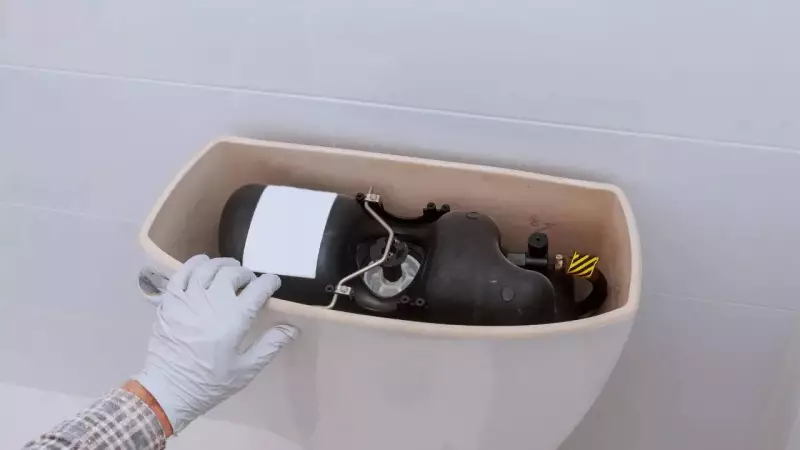
- Rubber gloves to protect your hands
- A small scrub brush or an old toothbrush
- White vinegar – it's natural and highly effective
- Baking soda for tough stains (optional)
- Clean water and some rags or paper towels
- A bucket or cup for rinsing
Avoid using bleach or harsh cleaners. Vinegar works well and is safer for your plumbing. It won't damage plastic or rubber parts inside the tank.
Step-by-Step Cleaning Process
Follow these easy steps to clean your toilet tank thoroughly. The whole process takes about an hour, including soaking time.
Turn Off the Water Supply
Locate the small valve behind your toilet. Turn it clockwise to shut off the water. Then flush the toilet once. This action drains most water from the tank, giving you access to the interior.
Apply Vinegar to the Tank
Pour two to three cups of white vinegar directly into the tank. Make sure it covers the bottom and reaches the sides. Vinegar's acidity breaks down mineral deposits and mild buildup without causing harm.
Let It Soak
Allow the vinegar to sit for at least thirty minutes. For heavy buildup, leave it longer. You can add a sprinkle of baking soda to create a gentle foaming action that boosts cleaning power.
Scrub Gently
Put on your gloves and use the brush to scrub all interior surfaces. Pay special attention to discolored areas or visible residue. Scrub the bottom, sides, and any components you can reach safely.
Rinse Thoroughly
Turn the water supply back on. Let fresh water fill the tank completely. Flush the toilet several times to rinse away all loosened debris and vinegar residue.
Wipe Down Remaining Residue
Use a damp cloth or paper towel to wipe any last bits of buildup from tank walls and parts. This final step ensures everything is clean and ready for use.
How Often Should You Clean the Tank?
For an average household, cleaning every three to six months works well. This frequency maintains good working order and prevents major buildup.
If you live in a hard water area, consider cleaning more often. Every two to three months is better when mineral deposits are high. Heavy toilet usage also warrants more frequent cleaning.
Pro tip: Add one cup of white vinegar to the tank monthly. This simple habit reduces deposit accumulation between cleanings. It keeps parts in good condition and prevents bad odors.
Helpful Maintenance Tips
Keep these pointers in mind for easier tank maintenance:
- Use vinegar regularly. Adding it occasionally helps control deposits.
- Avoid bleach tablets. They might clean the bowl but can corrode tank components.
- Check moving parts like the flapper and fill valve during cleaning. Replace them if they show wear.
Cleaning your toilet tank is a simple yet overlooked task. It improves your toilet's performance and extends its lifespan. With basic tools and vinegar, you can tackle this job quickly. Your bathroom will stay cleaner and more hygienic as a result.