Unlock Radiant Skin with Kitchen Leftovers: The Orange Peel Serum
In the endless pursuit of youthful, glowing skin, many spend fortunes on high-end serums and creams. Yet, the secret to a brighter, firmer complexion might be hiding in your fruit bowl, destined for the trash. Orange peels, often discarded without a second thought, are powerhouses of natural Vitamin C and antioxidants. These compounds are crucial for fighting free radicals and boosting collagen production. Transforming these humble peels into a hydrating, anti-aging serum at home is not only possible but remarkably straightforward. Here’s your complete guide to crafting a citrus-infused skincare miracle.
Essential Ingredients for Your Homemade Serum
Gathering the right components is the first step toward creating an effective serum. You’ll need just a few accessible items:
- 2–3 Organic Oranges: Opting for organic is vital to avoid extracting pesticides commonly found on conventional fruit.
- 2 tbsp Rose Water: This provides a soothing base; distilled water can substitute if rose water is unavailable.
- 1 tbsp Pure Aloe Vera Gel: Acts as a hydrating and calming agent for the skin.
- ½ tsp Vegetable Glycerin: A humectant that draws moisture deep into the skin.
- 2 Vitamin E Capsules: Adds an extra antioxidant punch and helps prevent oxidation.
Step-by-Step Guide to Crafting the Serum
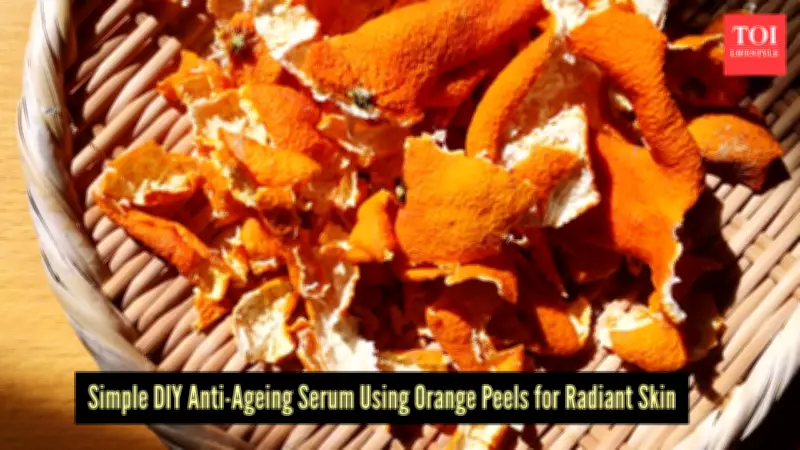
1. Preparing the Orange Peels

Begin by thoroughly washing the oranges. Peel them carefully, removing as much of the bitter white pith as possible. Lay the peels flat on a tray to dry completely. You can sun-dry them for a few days or bake them in an oven at the lowest setting for one to two hours. Once dry, grind the peels into a fine powder using a blender or grinder. Sift the powder through a sieve to eliminate any gritty chunks, ensuring a smooth texture for your serum.
2. Extracting the Beneficial Compounds
In a small bowl, combine one tablespoon of the citrus powder with two tablespoons of rose water. Cover the mixture and let it steep for four to six hours. This resting period is essential for extracting the water-soluble Vitamin C from the peels. After steeping, strain the liquid through a cheesecloth or coffee filter, squeezing out every drop. Discard the remaining pulp.
3. Mixing the Serum
Take the infused orange liquid and add the aloe vera gel and vegetable glycerin. Pierce the Vitamin E capsules, squeeze the oil into the mixture, and whisk vigorously until everything is well combined. The result should be a slightly cloudy, gel-like consistency, ready for application.
Storage and Application Tips
Transfer the serum into a dark glass dropper bottle, such as amber or cobalt blue, to protect the Vitamin C from light degradation. Since this recipe lacks chemical preservatives, refrigerate the bottle to prevent mold and bacterial growth. To use, cleanse your face and apply three to four drops, massaging gently in upward motions. Follow with your preferred moisturizer. If applying in the morning, always finish with a broad-spectrum sunscreen, as Vitamin C increases skin sensitivity to UV rays and can degrade when exposed to sunlight.
Important Considerations for DIY Skincare
While DIY skincare is enjoyable, it’s crucial to maintain realistic expectations. Natural Vitamin C is highly unstable; if the serum turns dark yellow or brown or develops an off smell, it has oxidized and should be discarded immediately. Prepare a fresh batch every seven to ten days. Additionally, homemade water-based extracts may not penetrate the skin as deeply as clinical formulations, offering surface-level brightening and hydration rather than intensive treatment. Always perform a patch test on your jawline 24 hours before full-face application to check for any adverse reactions.
Embrace this gentle, natural approach to skincare, harnessing the power of orange peels for a radiant, youthful glow without breaking the bank.